
1. Pro-level Visuals Without a Photoshoot

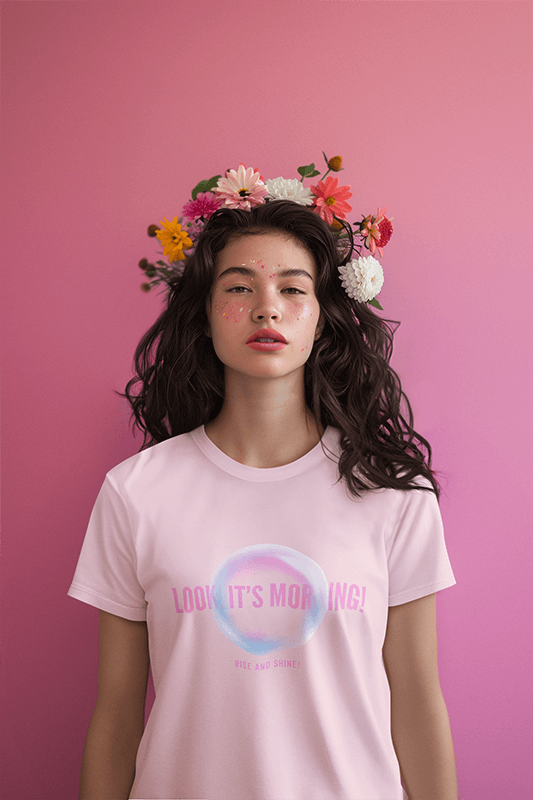
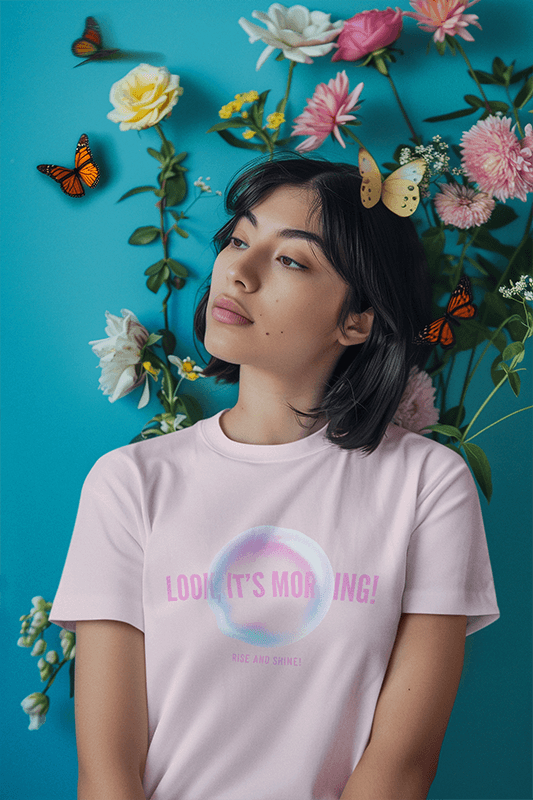
Placeit gives you stunning, realistic Canva mockups that look like they came from a professional photo studio. No need to hire models, or photographers, or rent gear! You can instantly showcase your product on real people, in real settings.
✨ Result: High-converting, lifestyle-driven product images.
2. Canva Adds Custom Branding Power
Placeit handles the magic for mockups on Canva, and you can add your brand’s personality. Have both worlds in one!
Drop in your logo, pick your fonts, add a tagline, and style the background—consistency across all visuals.
✨ Result: A branded, polished aesthetic that builds trust and recognition.
3. Perfect for Shopify’s Visual-First Design
Shopify stores rely heavily on imagery to sell. Clean, eye-catching product images and banners increase conversions.
Combining Placeit + Canva ensures your store looks modern and professional, even if you’re a one-person brand.
✨ Result: Customers are more likely to browse, trust, and buy.
4. Faster Workflow = More Listings, More Sales
No more wasting time creating mockups from scratch. Download from Placeit → Drop into Canva → Customize → Upload to Shopify — 💥 boom.
This rapid content creation means you can scale faster.
✨ Result: Get more products listed with less stress.
🔥 The mockups you create aren’t just for your product pages. Repurpose them for: Instagram posts, Pinterest pins, Email banners, Website slideshows, and Ads. A full marketing engine built from one simple workflow.
TL;DR:
Placeit + Canva = 💻 Easy to use + 🎨 Beautiful results + 💰 More sales on Shopify! Ok, ready then? Let’s get to what you need to do step by step:
🧰 Tools You’ll Need:
- Placeit (for mockups)
- Canva (for design customization)
- Shopify (your store platform)
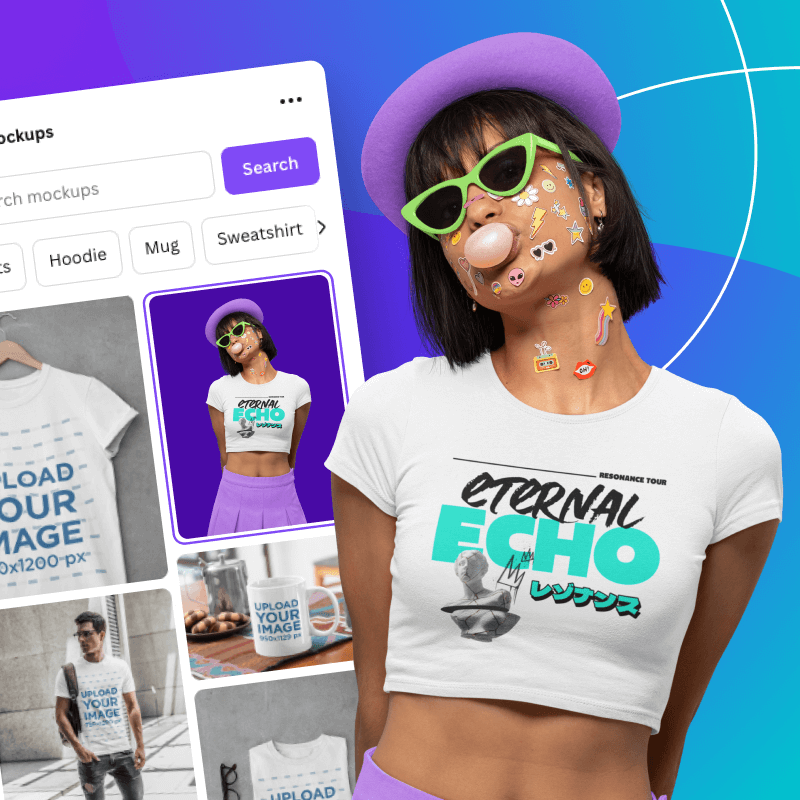
✅ Step 1: Create or Select a Mockup on Placeit
- Go to Placeit.net.
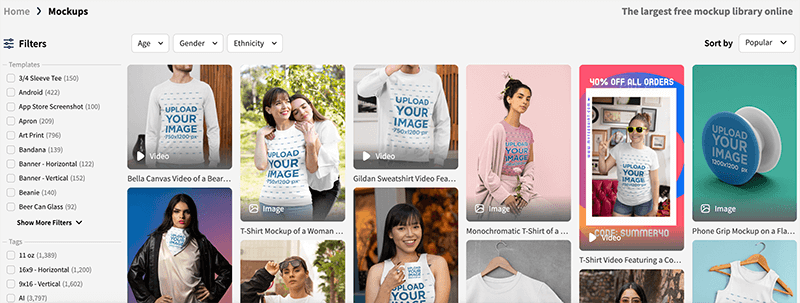
- Search for a mockup that fits your product (e.g., t-shirt, mug, iPhone, etc.). The “mockups” category on the nav bar contains these.
💡 Keep in mind there are thousands of options so help yourself find the right mockups using the search bar, filters, and/or left-side tags to get to the one!
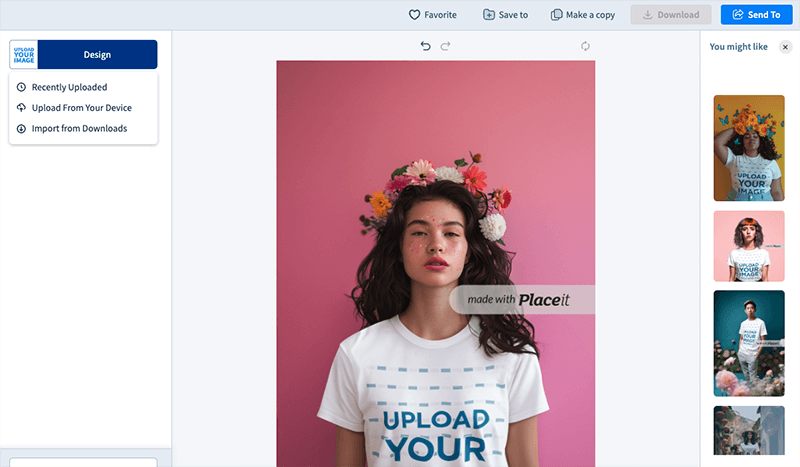
3. Customize the mockup:
Upload your design/logo. You can drag and drop, upload from a device, or if your design comes from Placeit, you can simply click on “Import from Downloads”.
👉 You can, of course, also make your design on Canva and head back to Placeit.
- Adjust the placement/size of your design.
- Change background colors (if the mockup allows) or the product color.
4. Once you’re happy with the mockup, click “Download” (you’ll need a subscription or a one-time purchase).
🔥 Did I forget to mention we also have AI-generated mockups now?!
✅ Step 2: Upload the Mockup to Canva
- Open Canva.com and click on “Create a design”:
Choose the right size (e.g., 1850x1350px for Instagram, 1200x628px for Shopify banners).
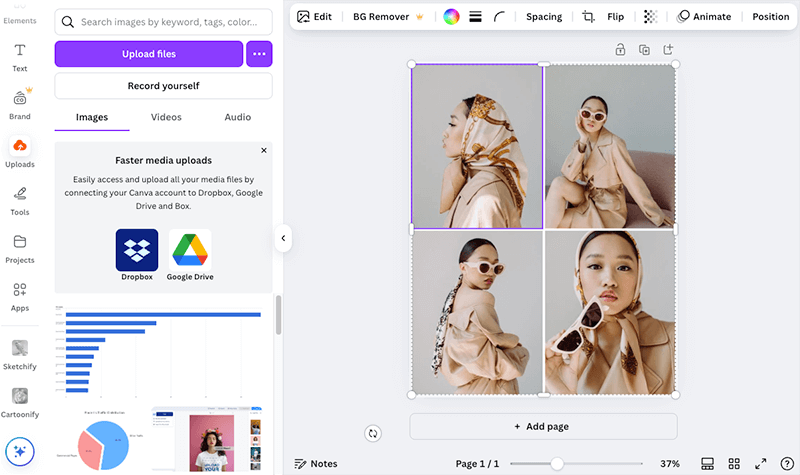
2. Upload your Placeit mockup:
Go to the Uploads tab on the left. Click “Upload files” and select the mockup image you downloaded.
Drag and drop the image into your canvas.
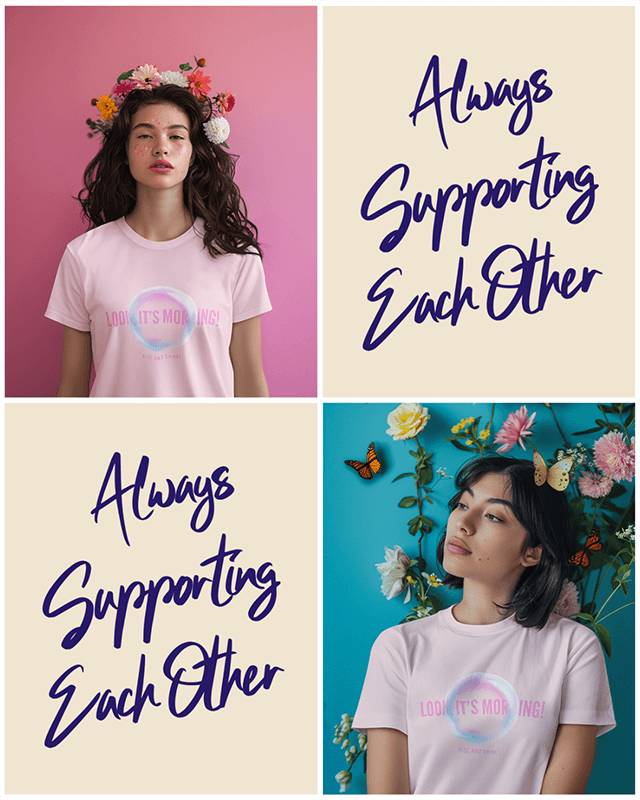
3. Customize further in Canva:
Add product titles, sizes, prices, promotional text, or brand elements (logos, colors, fonts).
Use Canva’s templates if you want a stylish layout.
✅ Step 3: Download the Final Design from Canva
- Click “Share” > “Download”.
- Choose PNG (high quality) or JPG (smaller file size).
- Select the correct page (if you’re working with multiple).
- Click “Download.”
✅ Step 4: Upload to Shopify
- Log into your Shopify Admin panel.
- Navigate to the product you want to update or create a new product.
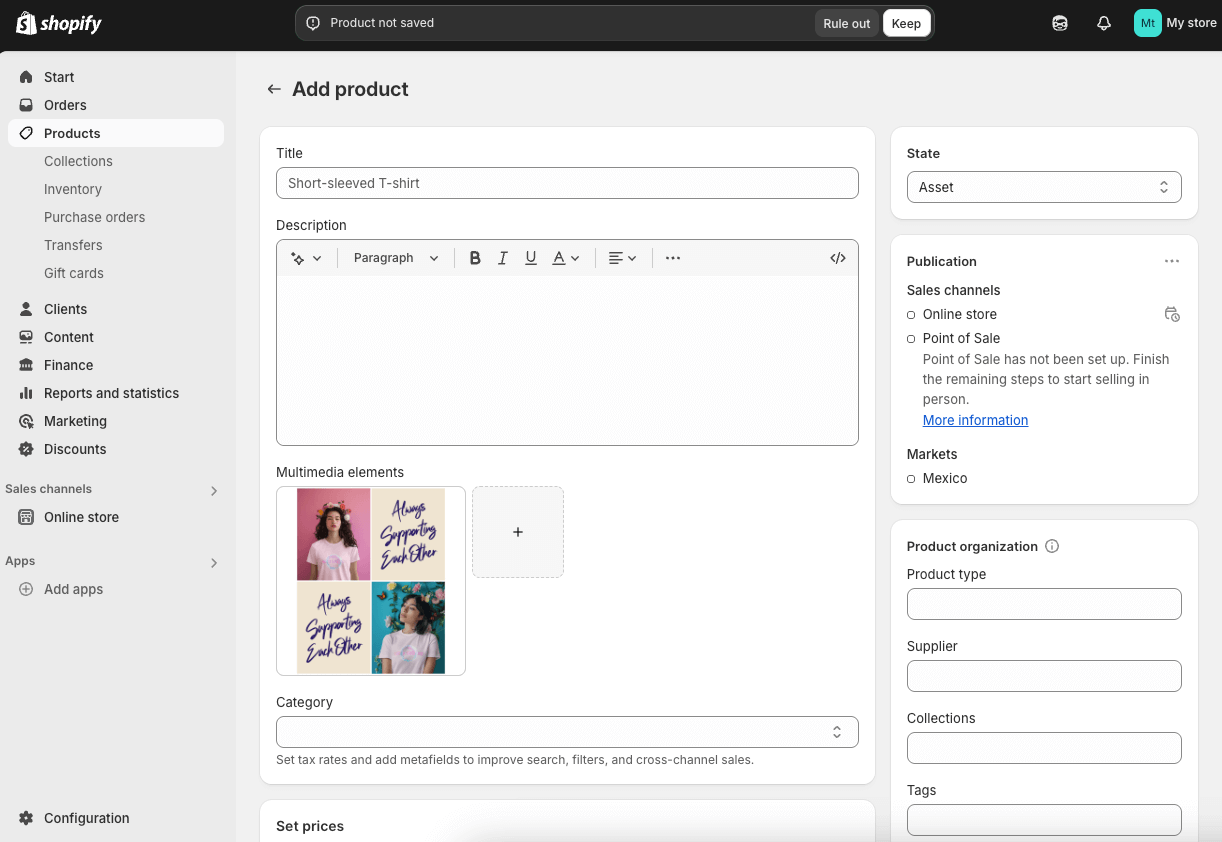
- In the Images section, click “Add Media”.
- Upload your Canva-designed mockup.
- Set it as the featured image if it’s the main visual.
- Click Save.
🌟 Bonus:
You can also use your mockups in Shopify banners, slideshows, social media, or blog posts for your shop.
💡 Tips for Better Results:
- Keep the background consistent across all images for a clean storefront.
- Use Canva’s brand kit to maintain font and color consistency.
- Use mockups that show real-life context (e.g., someone using the product) for more engagement.
💡 Consider naming your image files with SEO in mind (e.g., modern-black-mug-mockup.png).
✨ For more detailed information on optimizing SEO for your Shopify store, check out this post!
Wrap-up: Your Visual Workflow Just Got an Upgrade
You don’t need a big budget or a creative team to build a store that looks like you have one. With Placeit mockups, Canva’s design power, and the Shopify storefront, you’ve got a simple but powerful system to produce professional, branded product images—fast.
Use this trifecta to launch quicker, promote smarter, and convert better across your store, socials, and beyond. Now go forth and mockup like a boss 💻🎨🚀
And if you’re ready to explore thousands of mockup styles right now, start here:
