How to Make a Macbook Mockup - Tutorial

Why Use a Macbook Mockup?

Creating a Macbook Mockup for a digital project such as a website or software you’ve developed is a great way to showcase and promote your work in a professional way. Imagine how your portfolio would look with high-quality images displaying your latest work for your clients to see; or showing clients a preview of what their website will look like, there’s no better way to show them than in context. Placeit is here for you, Placeit understands. 

In this post, we’ll show you three different ways to create a MacBook mockup, or you can click the button below to start creating right away!

Option 1: Using a Photoshop Template

The first option that might come to your mind when wanting to create a macbook mockup is too search online for editable PSD files.

Things you’ll need:

So if you have all three, here is the step by step guide on how to make a mockup using a PSD file:

Option #2: Taking the Photos Yourself

Another option to display your work is talking a picture of your screen with your website design or software on display. This might sound like a good idea but the execution can be headache inducing. Think about it, the glare of your display is usually way brighter than the room your work in, showing your work this way might be more tricky than you thought. 

If you decide to take this route, you’ll need: a professional camera (an iPhone most likely wont be enough), a good looking desk and with props that provide the aesthetic you’re going for, a sleek Macbook (because you won’t want to promote your work in a banged up one you’ve been using since college) and knowledge of Photoshop to edit your images.

Option #3: Using Placeit Mockups

Using Placeit’s Mockup templates is super easy and it takes only a minute or two. Just follow the steps below:

Go to Placeit and click on Macbook Mockups. Here you’ll find hundreds of different templates to choose from depending on the product or project you are looking to display, like:

Didn’t find what you were looking for? Drop us a line and we’ll do our best to get it for you. 

step1_macbook

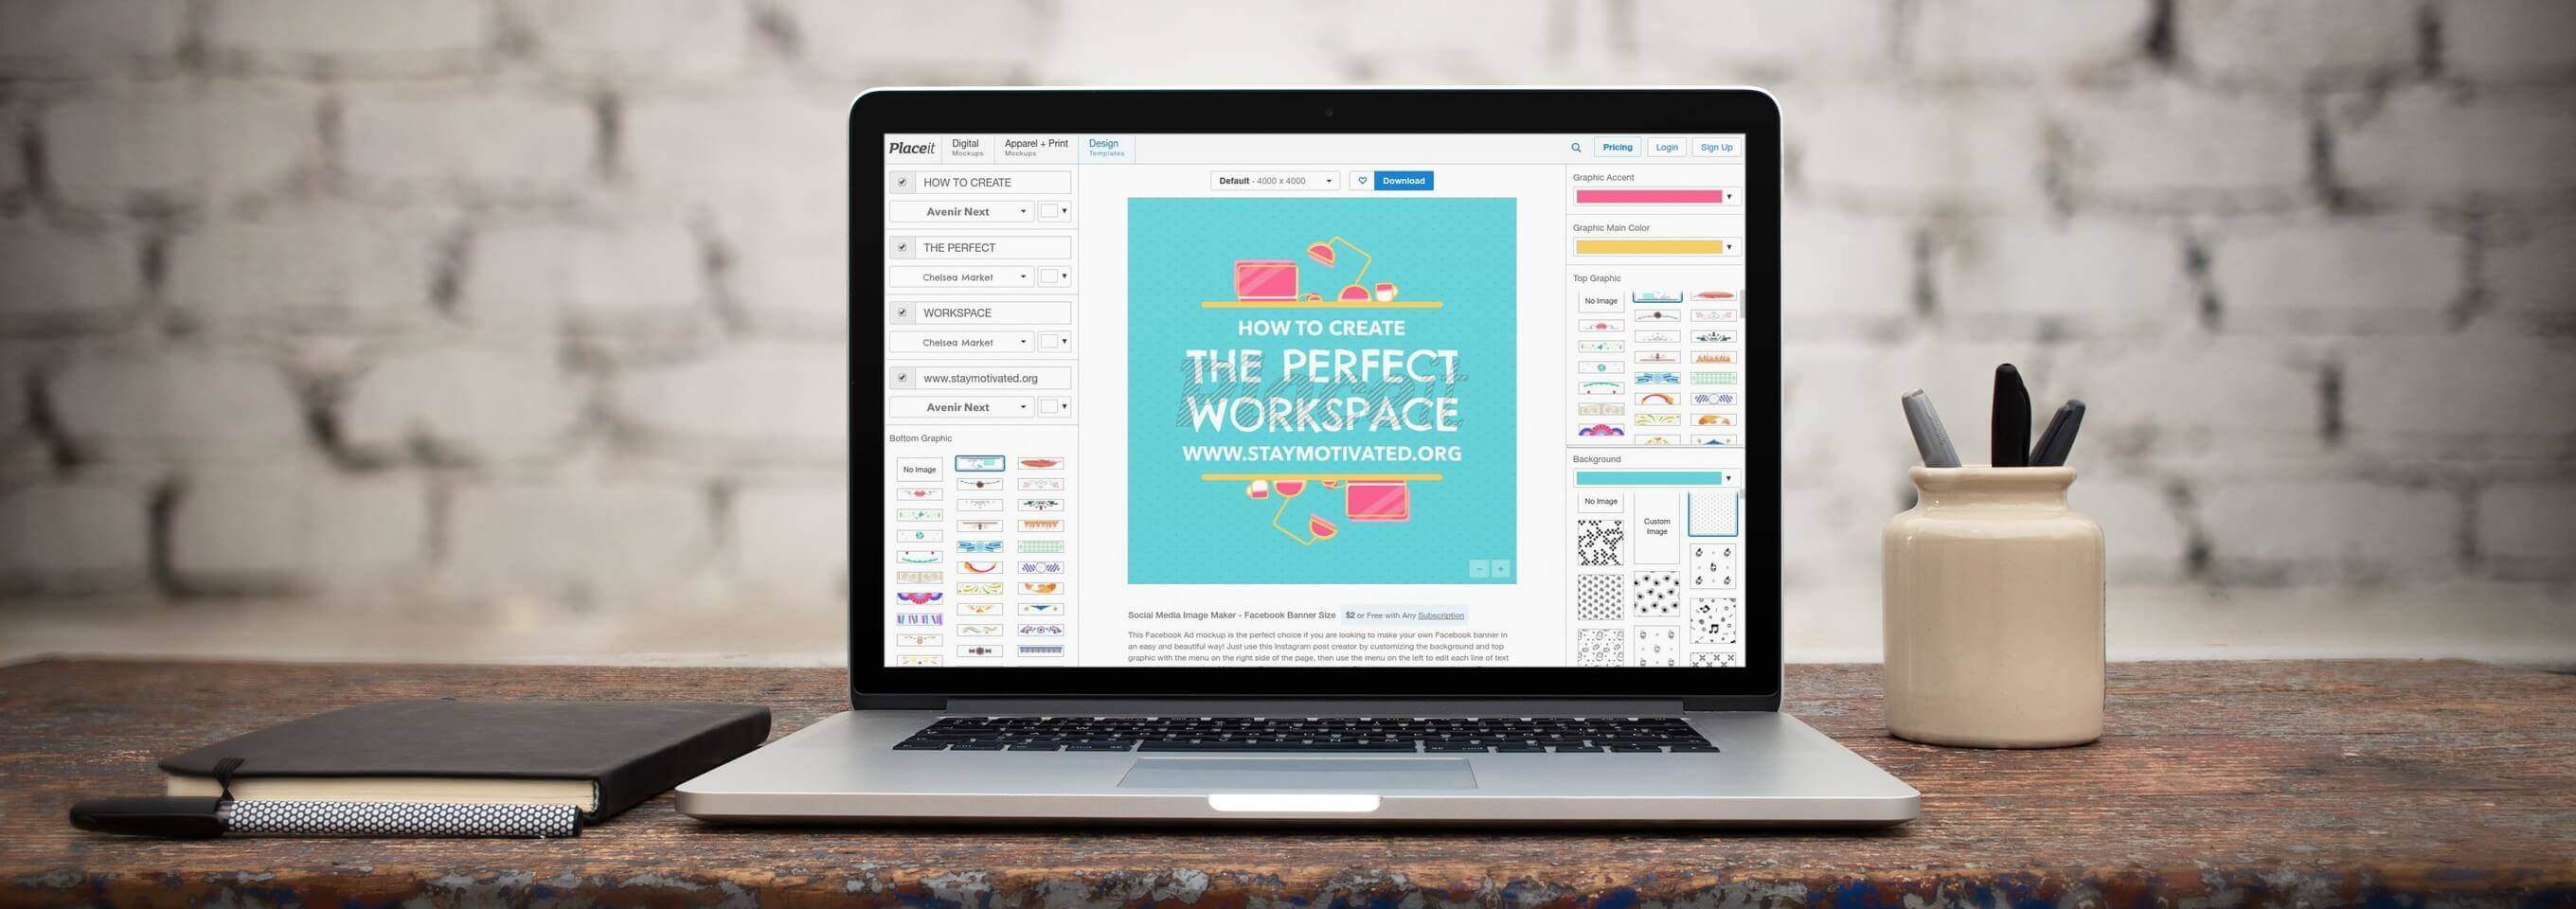
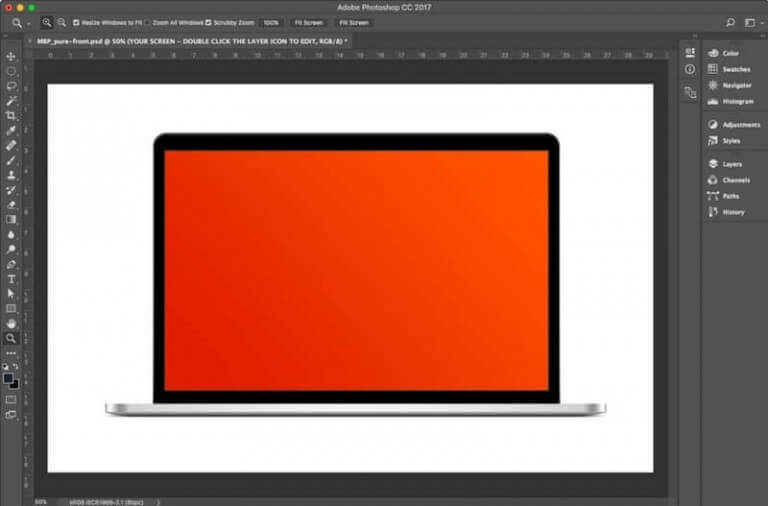
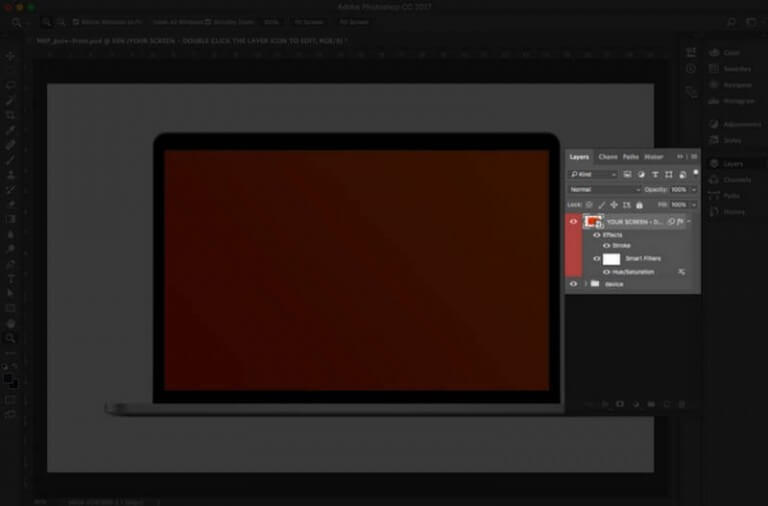
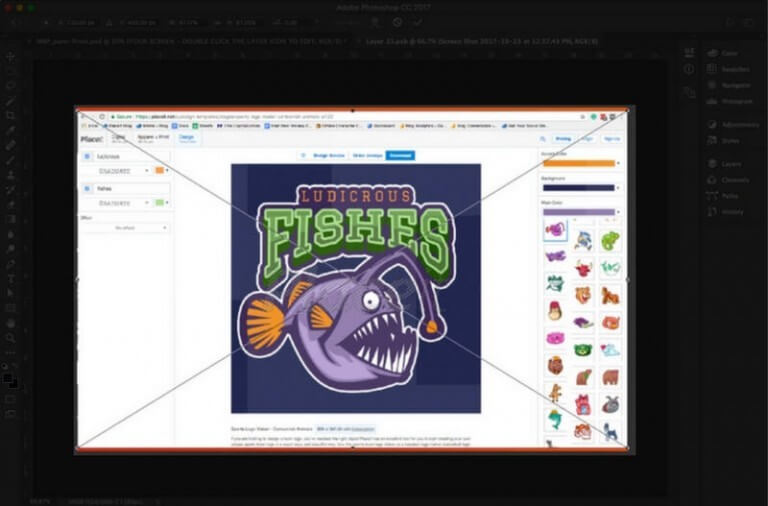
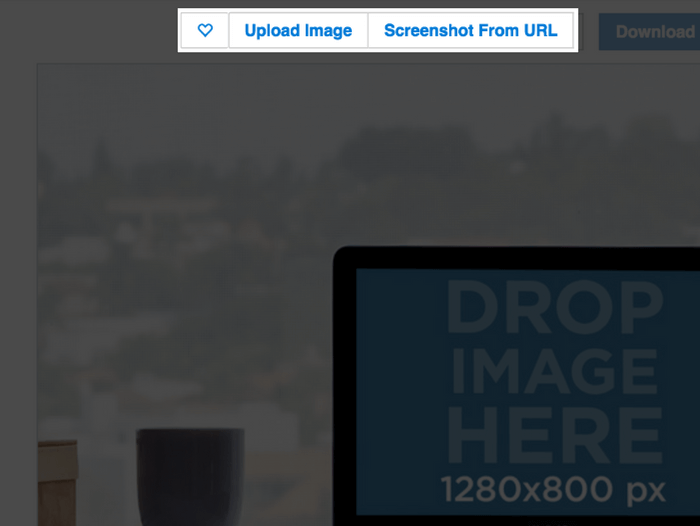
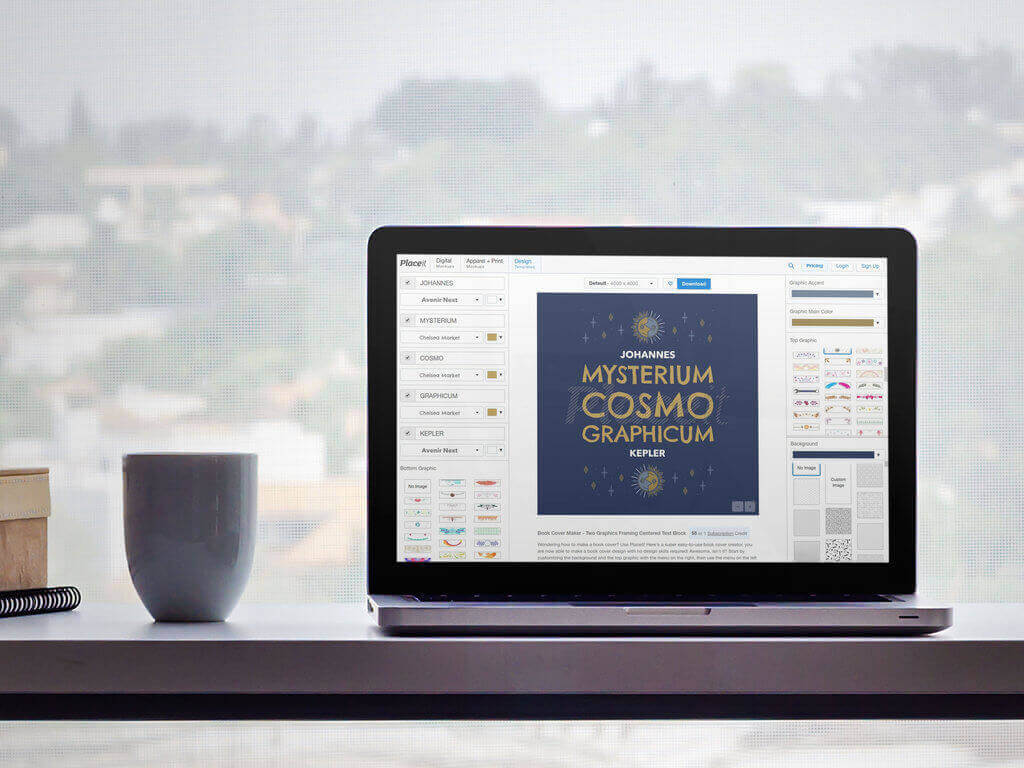
Once you’ve selected the macbook mockup generator you want to work with, click on it. Go to the top of the image and you’ll see two options.

– Option 1: Upload an image from your drive, this could be a screenshot of a website you designed, or a preview of an app you’re developing. Choose your image and click open.

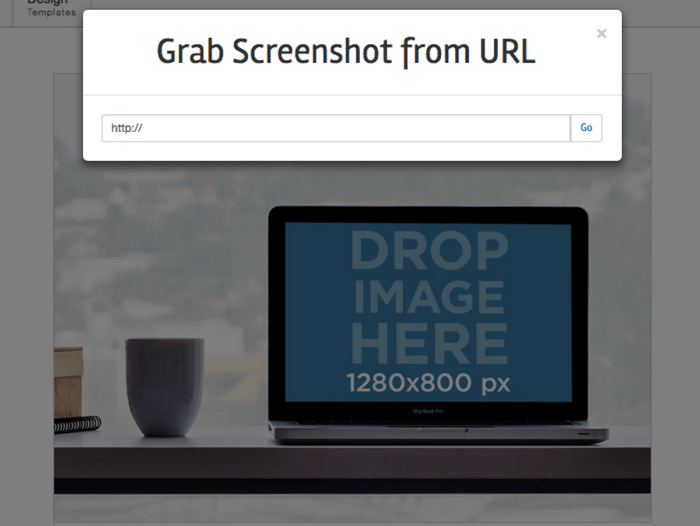
– Option 2: Screenshot from URL.

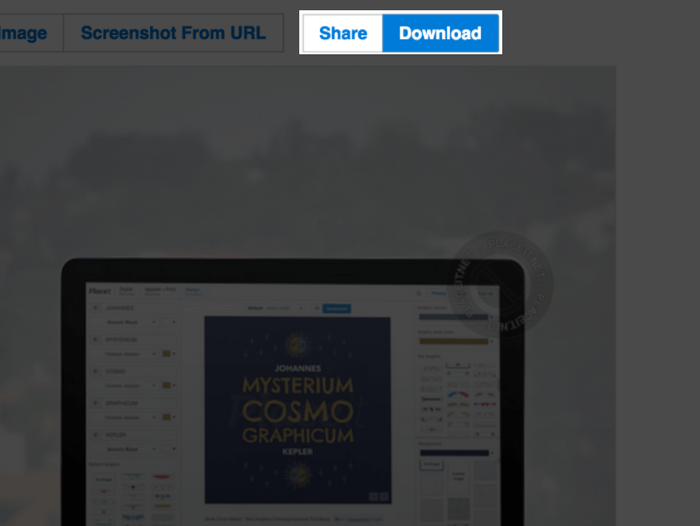
Either of the options will let you display your work in a professional manner.

step2_macbook

If you selected “Screenshot from URL” you will be prompted to write in the URL for the website you want to display, just type or paste the URL for your website and the mockup generator will work its magic to add it to the screen!

step3_macbook

Once you’re convinced with your mockup, click download and choose what size you want your download to be (when applicable):

– 400 x 300px
– 1920 x 1440 px
– 3300 x 2475 px

And you’ll be all set to use your mockup to show off your designs to current or potential clients.

macbook mockup generator

If you’d like, we also made a video tutorial with a detailed step-by-step guide on how to use Placeit’s Macbook Mockup generator

Once you’re done, you’ll get awesome visuals in minutes. Placeit’s MacBook mockups are created thinking of you, to make your life easier. So go to Placeit and start creating amazing visuals for your business, like the ones below:

So there you have it, whether you’re want to show the progress of a project to a client, or display your work in a portfolio, Placeit’s Macbook Mockup Generator is here to make your image creating easy and pain free without wipping out the camera or shelling out hundreds of dollars on design software.

“My portfolio looks so professional since I started using Placeit’s mockups.”
Terry Jackson 5/5

Scroll Up